
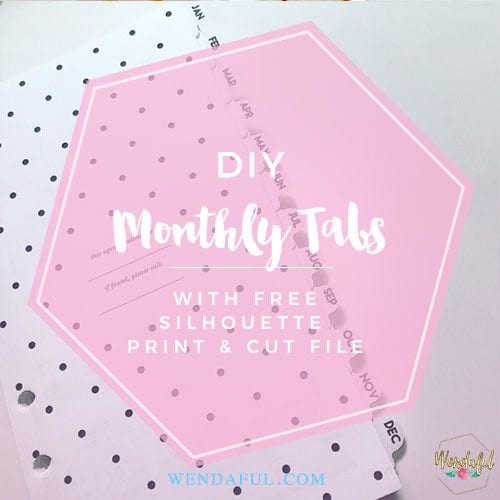
DIY Monthly Tabs:
Would you like to make your own monthly tabs for your inserts? Does it seem impossible to line up 12 little tabs to fit and align perfectly? Well today I’m going to share with you a file that I created where you can print and cut your dividers and make it super easy to make perfect monthly dividers! The download will be located at the end of this tutorial!

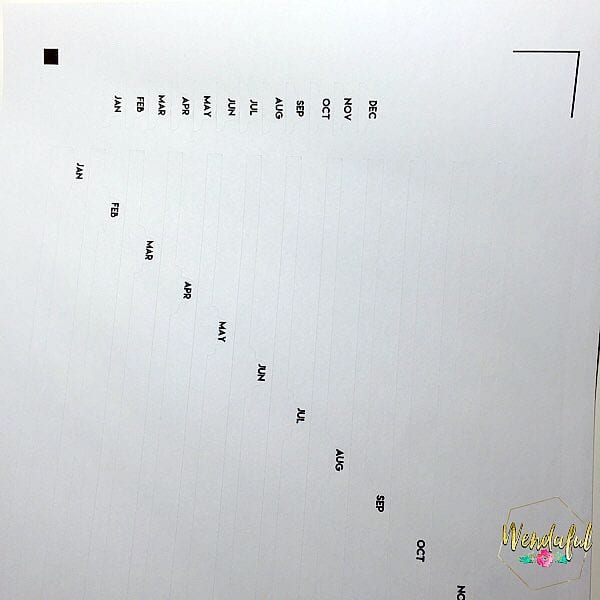
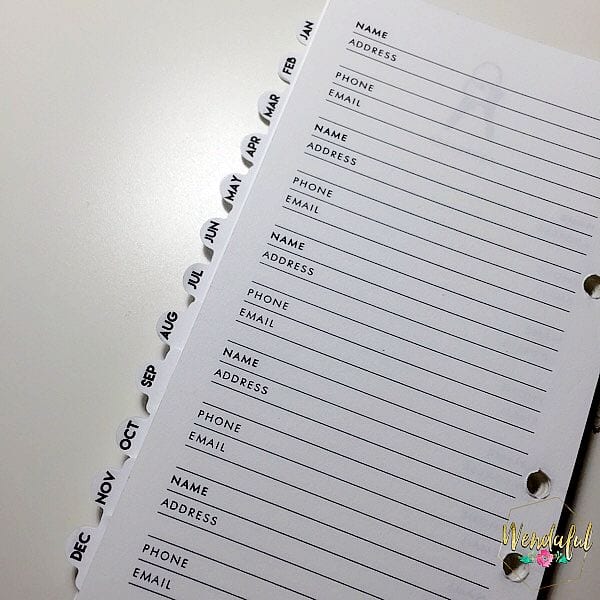
My Kate spade agenda inserts are great but it lacked monthly dividers. I knew I needed them so I went to Silhouette Studio and first printed out just little tabs, but it was so hard to line up and place them evenly on all of the months’ inserts. So instead I took the size of the inserts and simply replicated the tabs down and to the right a little to make long tabbed stickers (if that makes sense?). Then I simply placed the months title on each tab. I printed and cut the tabs on sticker paper and here is how it came out.
I left it white to keep it simple but you can color them in in silhouette studio to whatever you prefer, you can even put in cute patterns!
So each file comes with the long stickers to make sure they align perfectly and small tabs for the back side.
All you have to do is print and cut this file with your printer and silhouette machine and place them along the edge of each month’s inserts. Just align the top and bottom, the tabs will always be in the right spot! Easy right!?
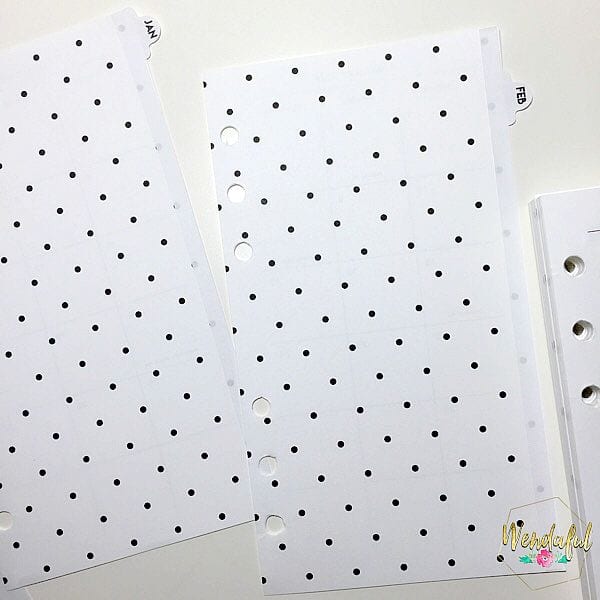
Then simply take the little monthly tabs stickers and place them on the back side of each months’ tab.
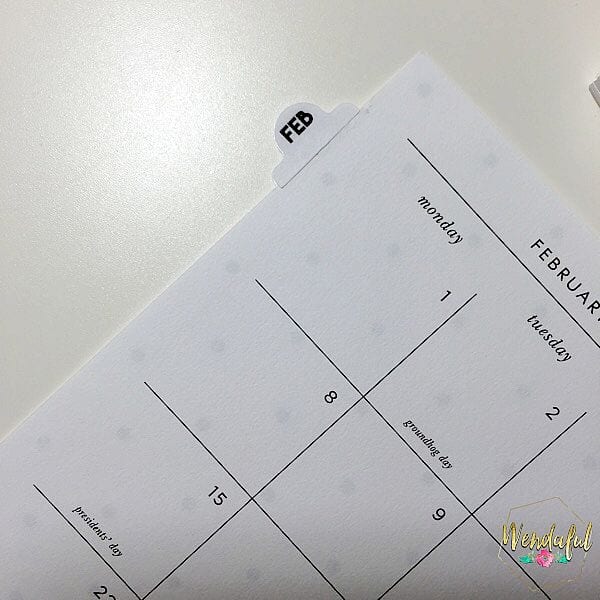
This way you can see which month you’d like from the front or back!
I hope you enjoy this easy tutorial and free file! Now you can flip through your planner easily. I would recommend printing on glossy sticker paper if available for more sturdier tabs.